How to Easily Install Windows on a Laptop | Step-by-Step
By Robyn Cook
Are you looking for an easy-to-follow guide explaining step by step how to download windows onto a laptop? If you are then look no further.
Downloading Windows onto a USB Drive
First thing you need is a new USB drive, or a used one with nothing on it. With your newly acquired, or repurposed USB drive head to the Windows website.
This part is done on a computer other than the one you are going to install windows on. Plug your USB drive into the computer.
Windows has a media creation tool that you will use. You can follow this link here or google “download windows 10” to get to the site.
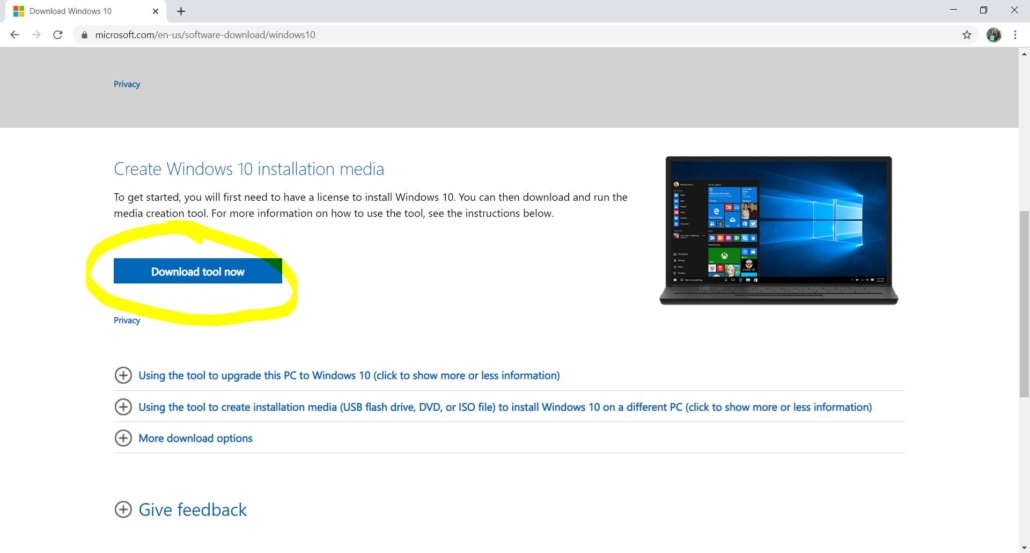
Once there, the page should like that pictured below. Under the section that says, “Create Windows 10 installation media” click the button that says “download tool now”- circled in yellow in the picture.
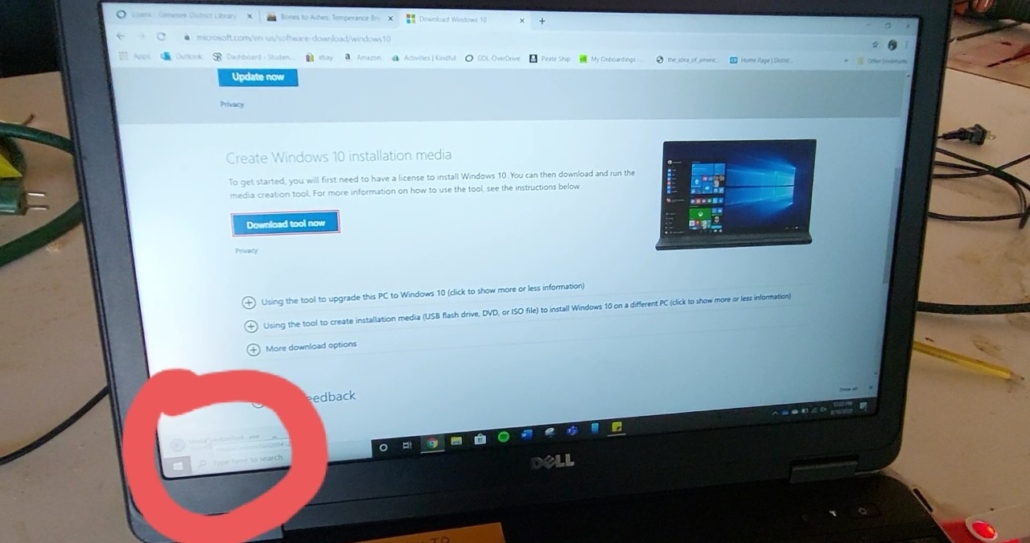
This will start downloading the windows wizard to your computer, you will see the progress on the popup (pictured below), click the download, and once finished, it will run the setup wizard.
After clicking through the installation process, Windows 10 will now be downloaded on your USB drive. This USB drive will be used to download Windows 10 onto your new laptop.
The rest of the installation process is on the laptop you are downloading windows on.
Installing Windows on Your Laptop
Next step is to enter what is called the BIOS system. Again, this is on the laptop you are installing windows on.
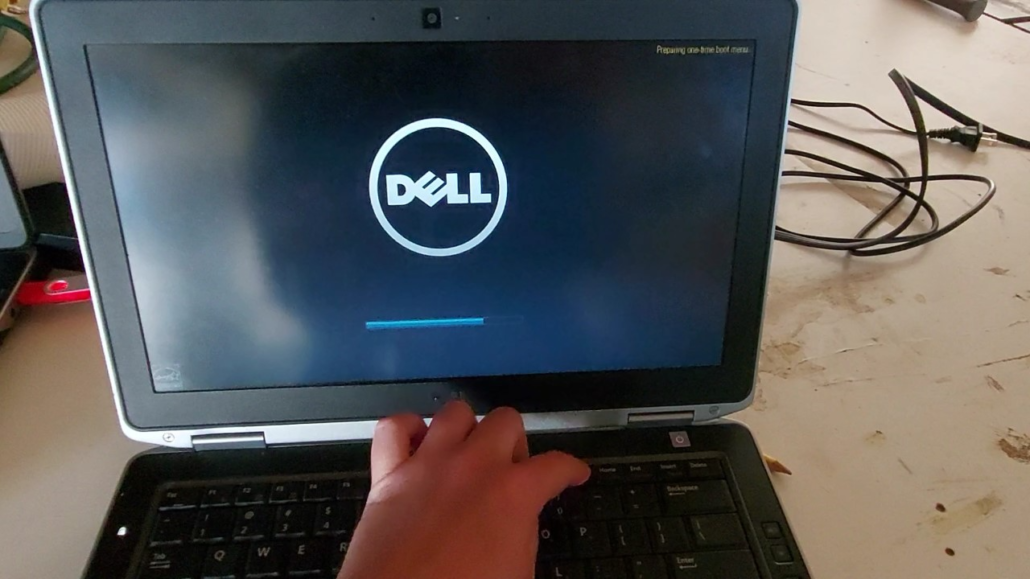
For a Dell laptop you will press the F12 button (for a Lenovo press F2) as soon as you power on the laptop. It will take you to a startup menu.
In the top right hand corner, it will say “preparing one time boot menu”.
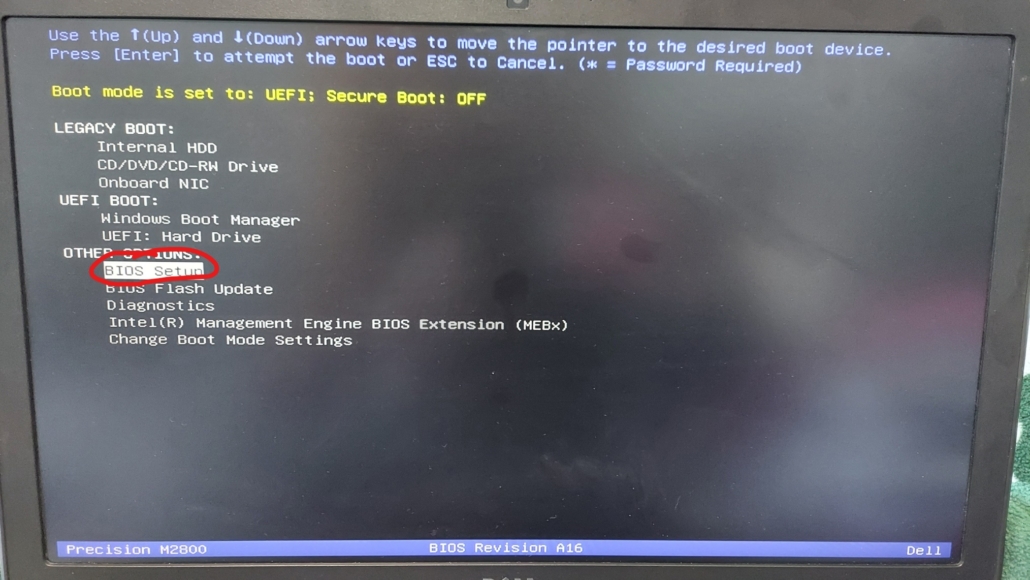
Once in the boot menu, use the down arrow key to navigate to the “BIOS setup”, click enter to enter the BIOS setup menu.
Once you are in the BIOS menu, under “settings” use the down arrow key to select “general” then go to “Boot Sequence”. As pictured below.
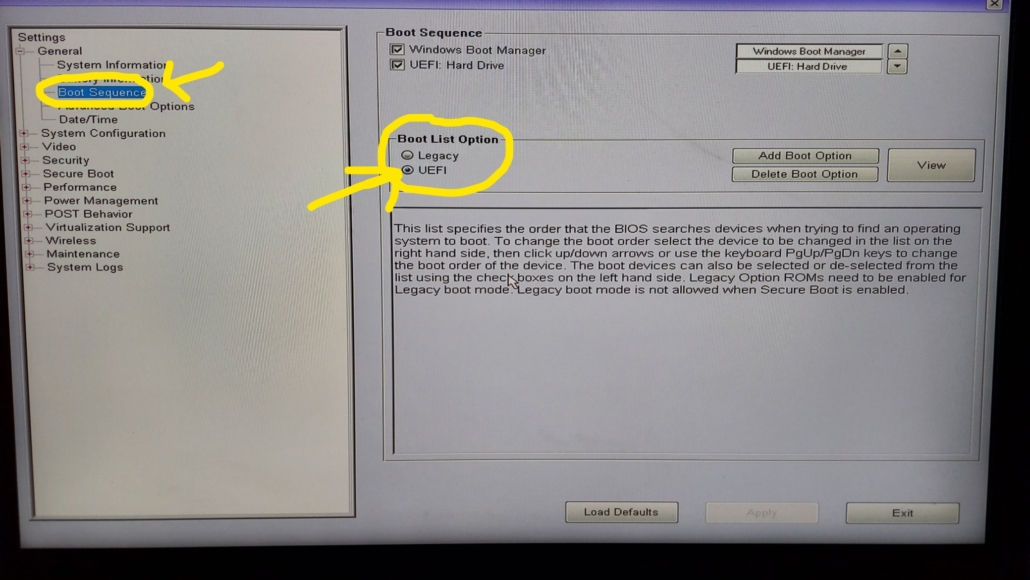
Under this setting you will see a few options for the laptop boots and installs windows. The options will be Legacy and UEFI. You want to select the UEFI mode. As pictured above.
Now that you have this selected, save your changes by pressing the “apply” button, which can be seen in the lower right-hand corner. If you have not already done so at this point, plug your USB drive into the laptop.
After saving your changes, exit the application. Your laptop will restart automatically after exiting. Your laptop will recognize your USB drive and boot from it.
After it restarts a Windows menu should pop up. Select the correct language and country formats for yourself, then select “next”.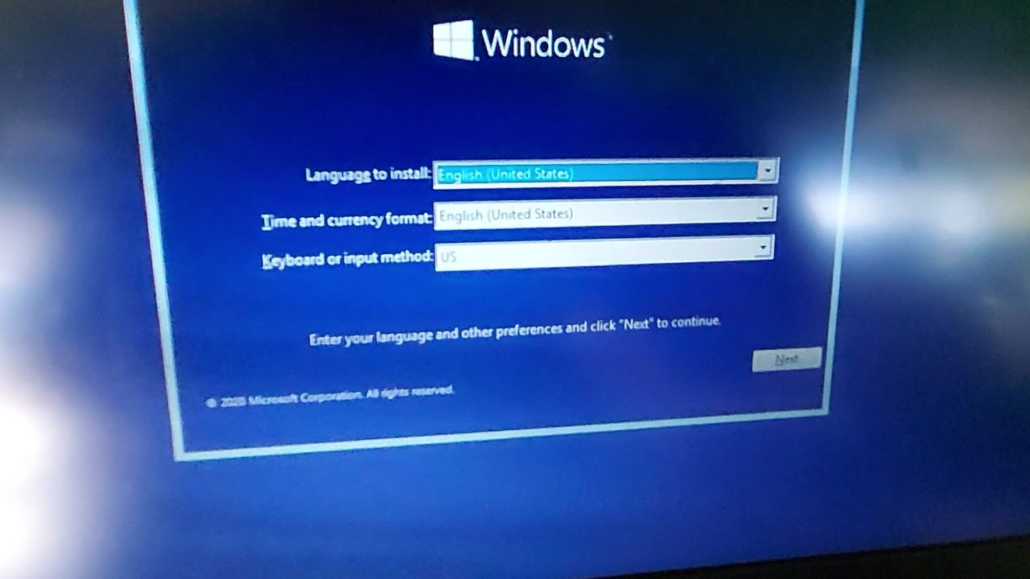
Then click “install now“.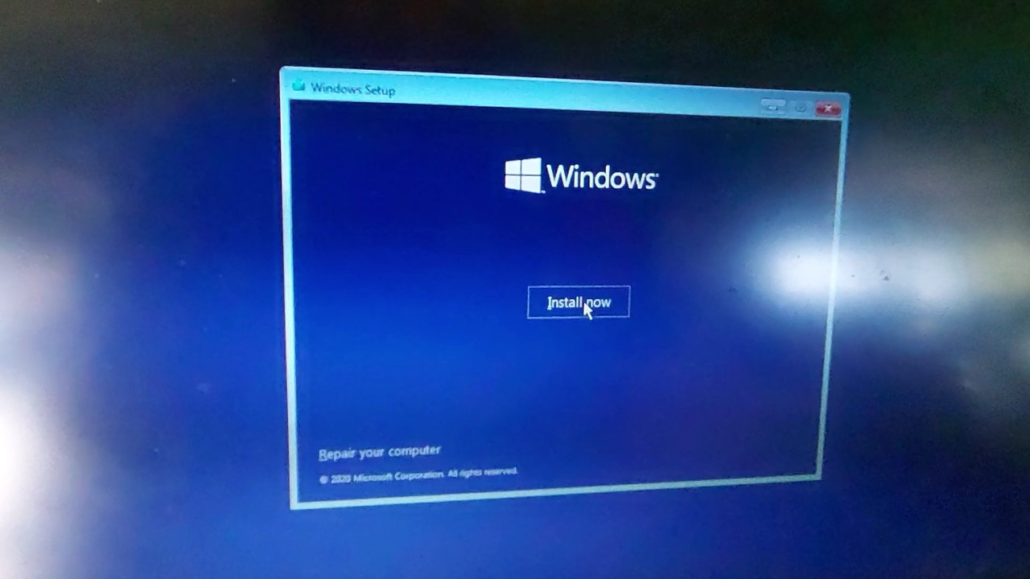
After Windows is installed, as pictured below, an activation window will pop up. Select “I don’t have a product key“. (Even if you do have a key, it usually will not work to enter it here, but you can try for yourself if you would like!)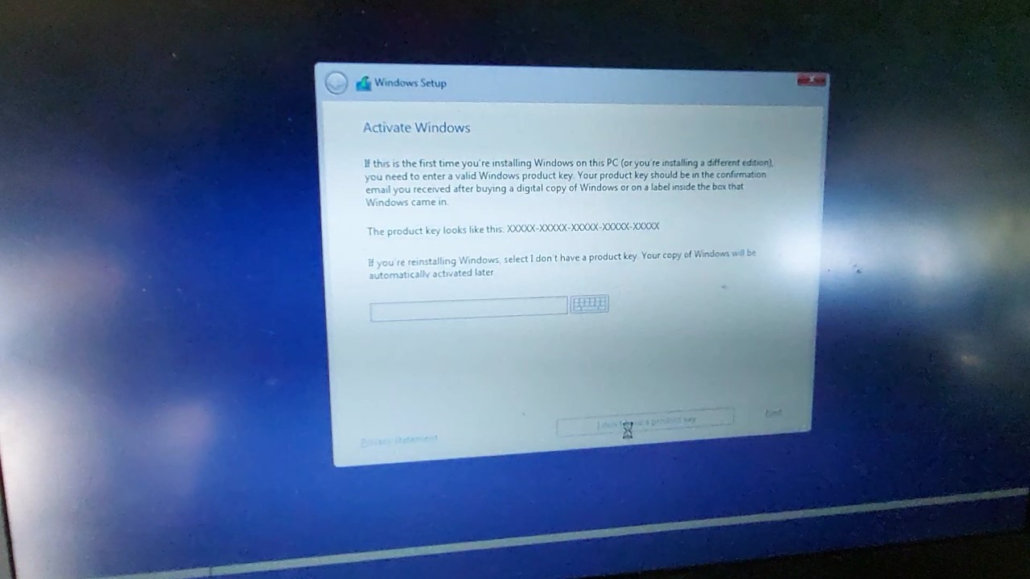
Next, select the version of windows you want, I suggest Windows 10 Pro, but you can select from the list what you prefer.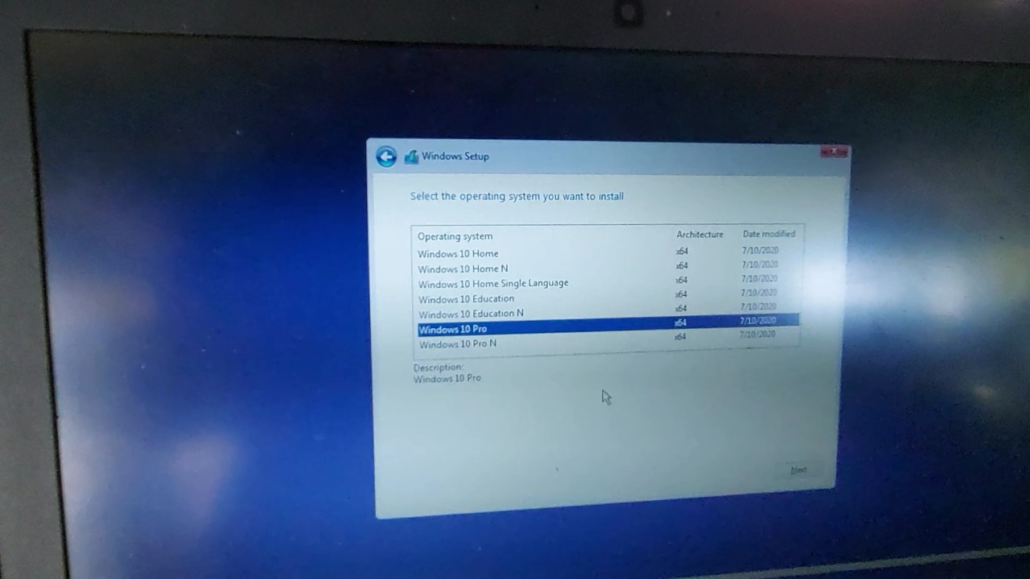
After you select the version of windows you want, the menu as shown below will have an option for how you would like to install windows. If this is a previously owned computer, then you will probably want to erase the data that was previously on the hard drive, if so select “custom install“. The rest of the article follows this custom installation process.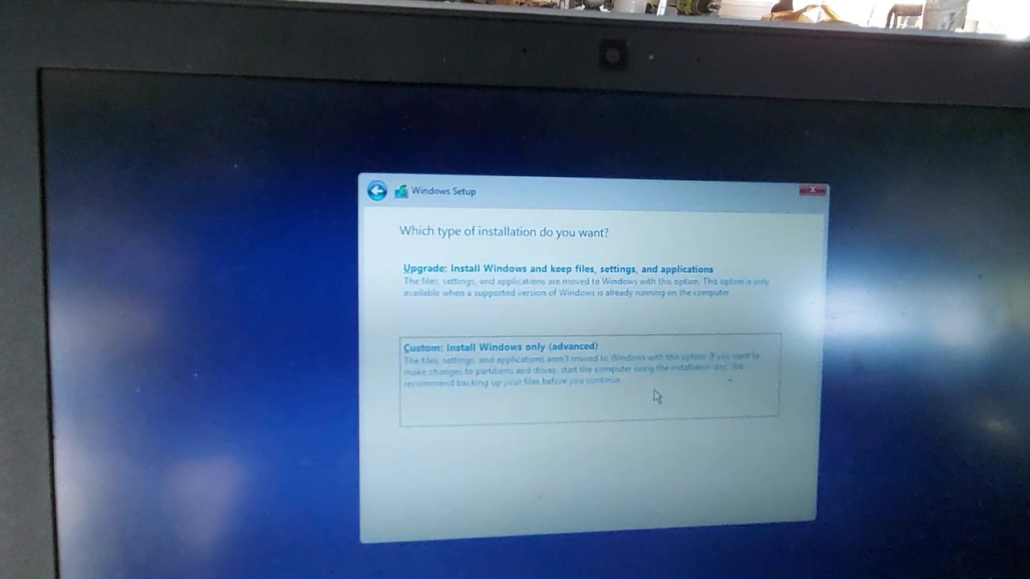
When you get to this menu there may be only one thing like in the picture below or there may be multiple. Click on each item, and if the option for delete is highlighted, select “delete”. This deletes all data that was previously on the laptop. Once done click “next”.

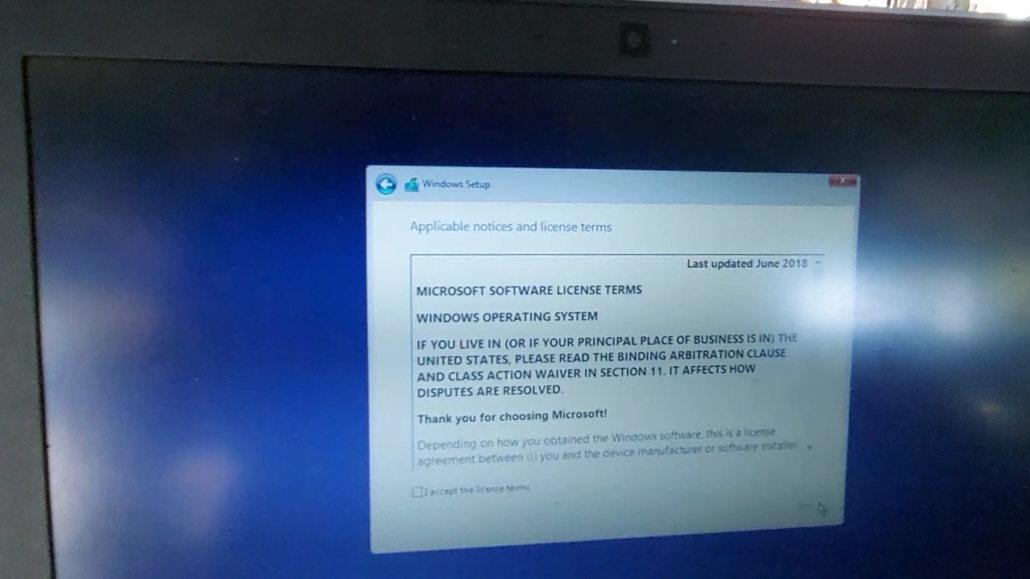
Click the box to acknowledge you have read and accept the license terms. Then select “next”.
At this point windows should begin downloading.
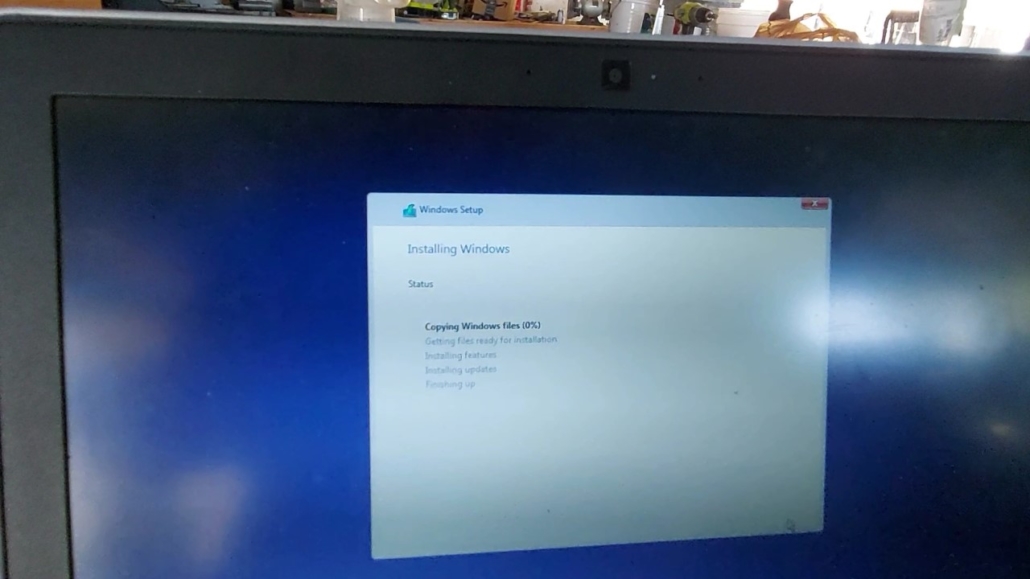
Approximate installation time is 20 minutes.
Setting Up Your Laptop
After installation is complete it is time to set up the laptop.
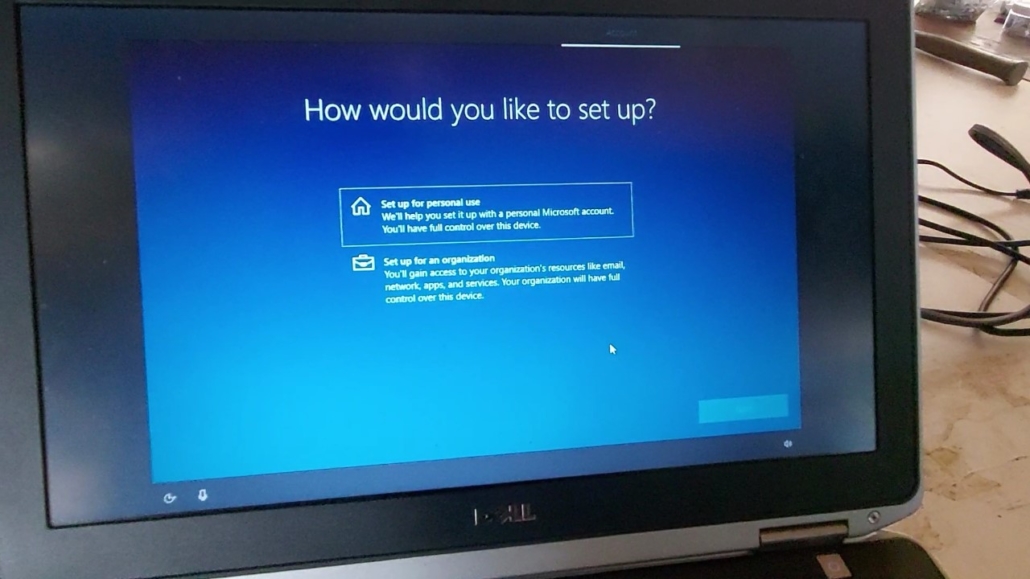
Select “personal use” and then click “next”.
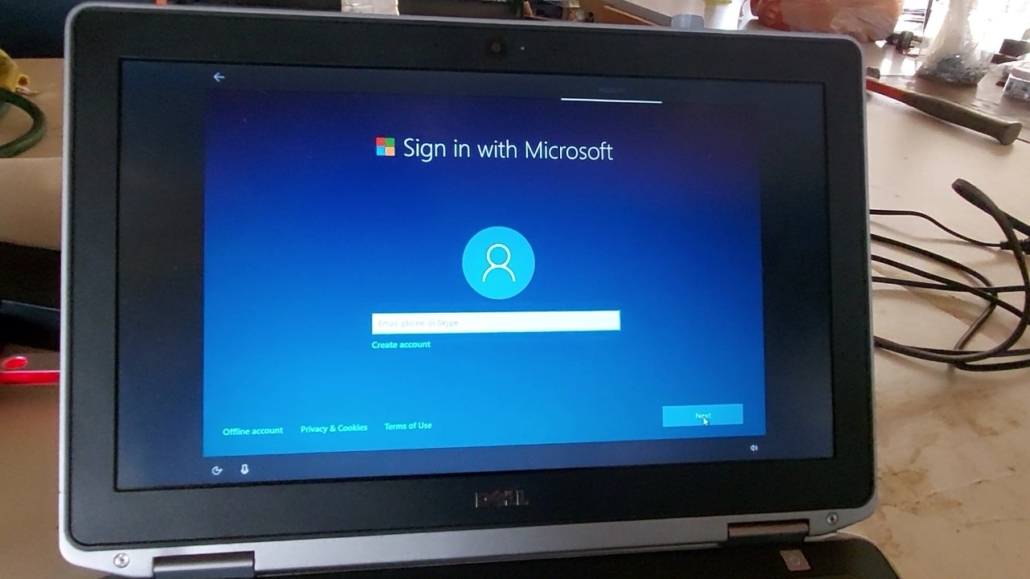
If you have a Microsoft account, you can sign in on this screen. But you don’t have to. To bypass the account sign in, select “offline account” in the bottom left-hand corner (pictured above).
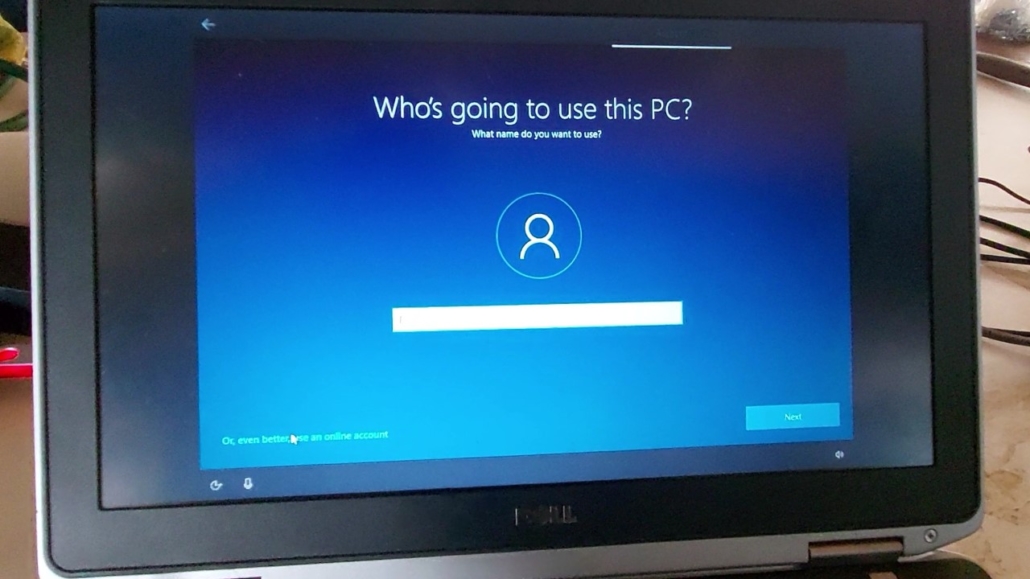
Then you will be taken to the screen pictured above that asks who will use the computer. You can enter your name or whatever you would like into this field.
Then select “next”. It will also ask for a password, you can create one, or if you don’t want a password, don’t enter anything into the field, and hit enter on your keyboard.
To continue to bypass the Microsoft sign in, select “limited experience” in the lower left corner of the screen.
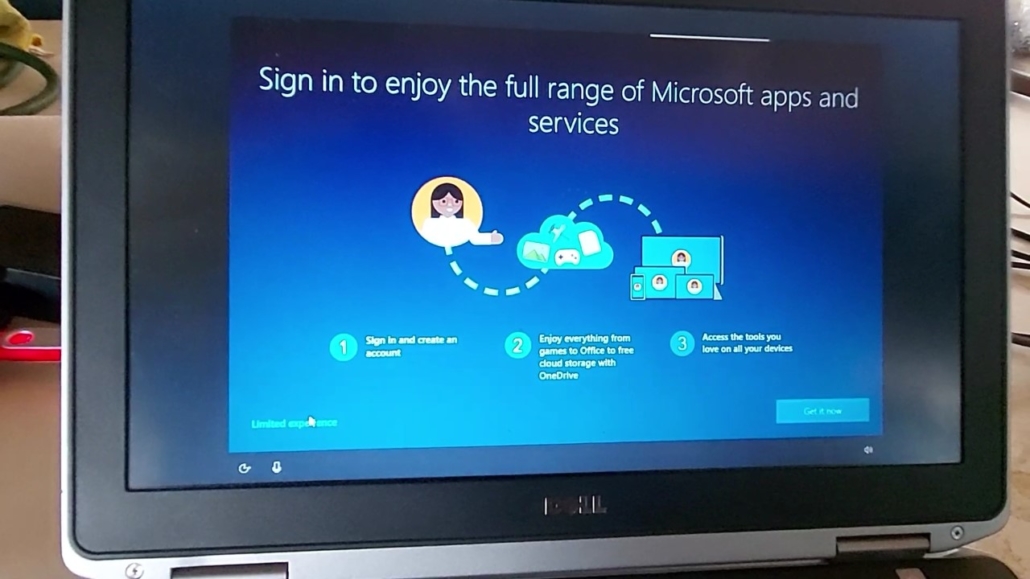
After this just continue to follow the prompts, and you’ll be done!
You might see a Microsoft watermark saying to install a license in the right-hand corner, either right away or after you restart your laptop.
You do not need a license, the computer is completely usable without it, if anything the watermark will just annoy you. If it becomes too much of a bother, you can purchase a license on eBay (tips for doing so in the next section), or through Microsoft.
Purchasing a Windows License on eBay

It is cheaper to buy a windows product key through eBay than through Microsoft. Just like with any other online shopping platform, there are some key tips for making the right purchase.
When purchasing a product key, the first tip is to check if they sell multiple keys, if you are able to purchase multiple. This just helps make sure the seller is legitimate.
The second tip is to purchase the product with your linked card. If you use PayPal there is no direct purchase information. When you use your card, it will show up on your bank statement.
These are just two things that guide our own purchasing of product keys on eBay, use your own discretion if you also decide to buy on eBay.
Who is StudentReach?

If this is your first time on our site, then welcome! Allow us to introduce ourselves with a little background on who we are.
We are a nonprofit that serves at risk high school students through a life coaching/mentoring program in Sacramento, California. We take volunteers abroad annually to do housing, water, and education projects in Baja, Mexico, Nicaragua, Central America, and Zambia, Africa.
StudentReach was formed in 2000 with the goal of empowering others to make the world a better place, and we have since taken over 6,000 people to locations around the world.
Browse our website and social platforms to see more about what we do!
We Accept Laptop Donations
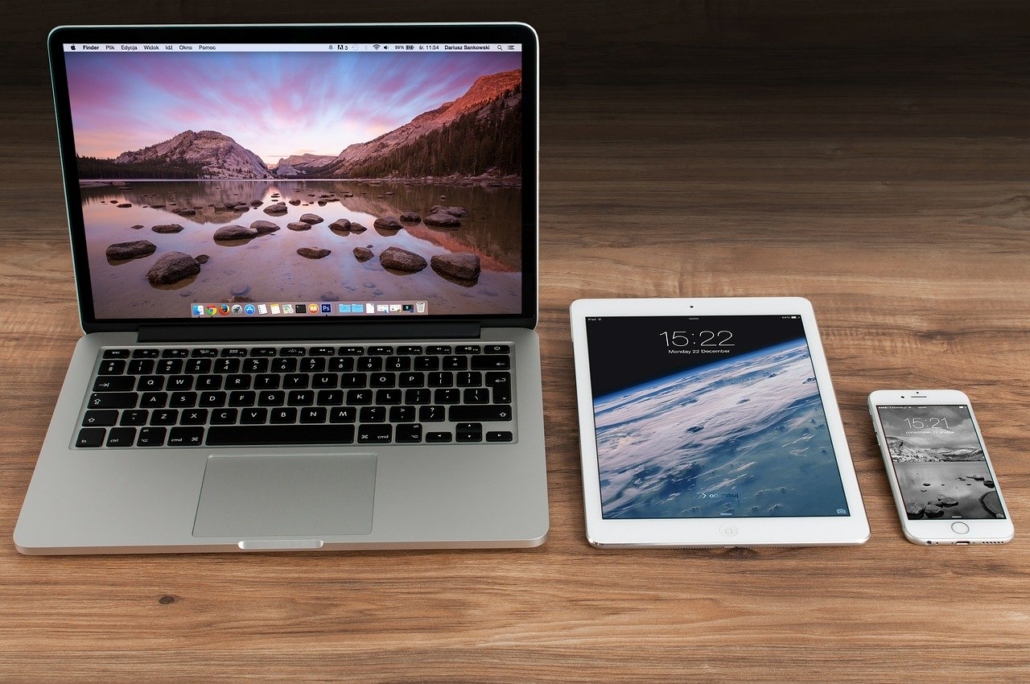 Perhaps you also have a laptop you are no longer using. Good news is we accept laptop donations! We will take your laptop that you donate to our charity and turn it into cash that benefits projects and programs we have in progress.
It’s a win-win situation! You get rid of an unused (but in good condition) laptop and we help fund one of our projects!
You might be wondering what else happens to donated laptops, they are also given to students in need, like for those who need them for virtual or distance learning.
Laptops and tablets are sent to Baja and Zambia for children to learn computer literacy skills. When children are taught these skills, they have the chance to break the cycle of poverty that has passed through their family because being skilled gives access to higher paying jobs.
So, if you have laptops and tablets you are no longer using, donate them to StudentReach, we even pay for shipping!
Let us turn your unused or unwanted technology into cash and a future for a child in poverty!
Donate with the button below!
If you want more information you can get ahold of us by, email, phone, social media, etc.
Video coming soon
Let me know in the comments below how well this tutorial worked for you!
About the author: Robyn Cook
Robyn is from Flint, Michigan, and is a graduate of Michigan State University. Holding a bachelors in Religious Studies. She is writer and editor extraordinaire. Robyn is a lover of all things art and pasta. Fun fact: she’s learning to snowboard.



Leave a Reply
Want to join the discussion?Feel free to contribute!